Common Electric Bike Problems and How to Prevent Them
Midlands | September 30 2026A puncture can turn a straightforward bike ride into an unwanted walk home. Whether you are commuting through Stone, riding Staffordshire roads, heading out on a longer road ride or tackling trails around Cannock Chase, a flat tyre can stop your ride without warning.
Most punctures are caused by preventable problems. Sharp glass, thorns, flints, underinflated tyres, worn casings, damaged inner tubes and poor tyre installation can all increase the likelihood of a flat. The right tyre, correct pressure and regular checks can significantly reduce the risk.
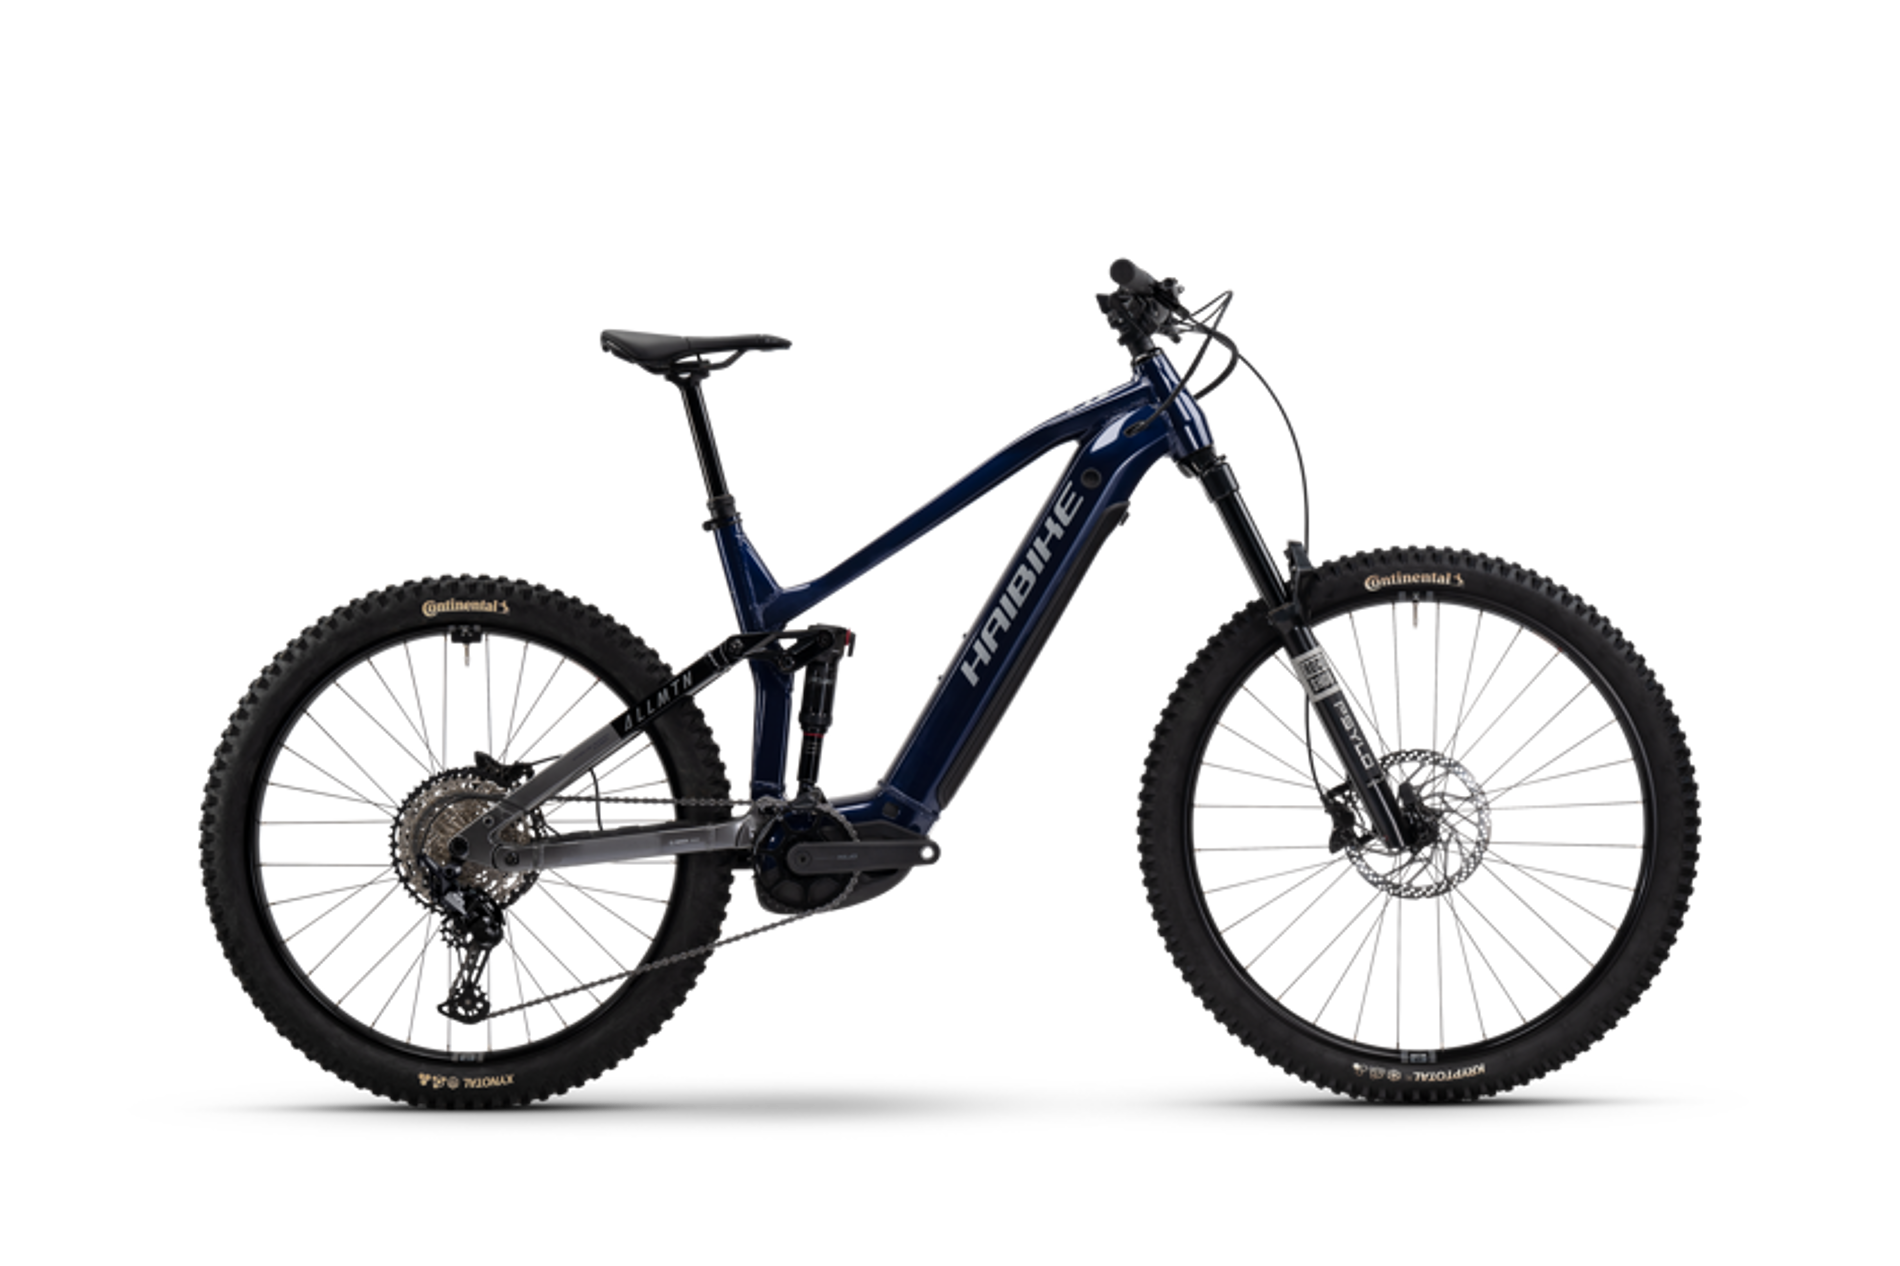
Puncture prevention is particularly important for electric bikes and electric mountain bikes. E-bikes are generally heavier than conventional bikes, and riders may cover greater distances or ride at higher speeds. Off-road e-MTB riding can also expose tyres to rocks, roots, thorns and other sharp trail debris.
Midlands Cycles is an independent bike shop based in Stone, Staffordshire, providing bike servicing, repairs, puncture repairs and maintenance for road bikes, mountain bikes, electric bikes, hybrids, children's bikes and commuter bikes. Its workshop also provides e-bike diagnostics and support for Bosch-powered electric bikes.
This guide explains how to prevent punctures on roads and trails, how to choose suitable tyres, how to maintain them and what to do when a puncture eventually happens.
Why Do Bike Punctures Happen?
A puncture occurs when something compromises the tyre or inner tube and allows air to escape. The obvious cause is often a sharp object, but not every puncture comes from glass or a thorn.
Common causes include:
Glass fragments
Thorns
Sharp stones
Flints
Metal debris
Nails or screws
Underinflated tyres
Overloaded tyres
Worn tyre casings
Cuts in the tyre
Pinch punctures
Damaged inner tubes
Faulty valves
Incorrectly fitted tubes
Damaged rim tape
Debris trapped inside the tyre
Understanding the cause matters because replacing an inner tube without addressing the original problem can result in another puncture shortly afterwards.
For example, if a small piece of glass remains embedded in the tyre, it may puncture the replacement tube as soon as you start riding again. If a pinch puncture is caused by insufficient tyre pressure, fitting another tube without correcting the pressure will not solve the underlying issue.
1. Check Your Tyre Pressure Before Riding
Correct tyre pressure is one of the simplest and most effective ways to reduce punctures.
A tyre that is too soft can deform excessively when it hits a pothole, kerb, rock or sharp edge. With an inner-tube setup, this can cause the tube to become trapped between the tyre and rim. The result can be a pinch puncture, sometimes called a snake-bite puncture because the tube can develop two small holes close together.
Running a tyre at the correct pressure helps the tyre maintain its shape and reduces the chance of the tube being pinched.
Cycling UK recommends regularly checking tyre pressure and notes that maintaining the correct pressure can help prevent pinch punctures.
The correct pressure depends on the tyre, wheel size, rider weight, bike type, load and riding conditions. Do not simply copy the pressure used by another cyclist.
Look at the pressure range printed on the tyre sidewall and follow the bicycle or tyre manufacturer's recommendations.
Do Not Ride on a Nearly Flat Tyre
If a tyre feels noticeably soft, do not assume it will be fine for the rest of the ride.
A soft tyre can increase the risk of rim impacts and pinch punctures. It can also affect handling, particularly when cornering or riding at speed.
Before a long ride, use a pump with a pressure gauge rather than judging pressure by squeezing the tyre with your fingers.
A pressure gauge gives you a repeatable measurement and makes it easier to maintain suitable pressure over time.
2. Check Tyre Pressure Regularly
Tyres naturally lose air over time. A tyre can become underinflated even when there is no puncture.
Inner tubes are not perfectly airtight, so pressure gradually decreases during normal use and storage.
Check your tyre pressure:
Before longer rides
Before trail rides
After the bike has been stored for an extended period
When the bike feels different to ride
After repairing a puncture
When you notice a tyre losing pressure
If one tyre repeatedly becomes soft much faster than the other, investigate the cause rather than repeatedly pumping it up.
A slow puncture could be caused by a tiny piece of glass, thorn, damaged tube, valve problem, rim tape issue or tyre damage.
3. Choose Tyres Suitable for Your Type of Riding
There is no single tyre that is perfect for every cyclist.
A lightweight road tyre designed for speed may not provide the same puncture protection as a heavier commuting tyre. Likewise, a tyre designed for road riding may not be suitable for rocky or muddy trails.
Think about where you ride most often.
Road Cycling
Road riders may encounter:
Glass
Flints
Gravel
Metal debris
Potholes
Broken road surfaces
Road-edge debris
A road tyre with suitable puncture protection can be a sensible choice for riders who prioritise reliability and everyday use.
Commuting
Commuters often encounter a mixture of roads, cycle paths and urban debris. If reliability is more important than saving every gram of weight, a durable commuting tyre with additional puncture protection can be worthwhile.
Mountain Biking
Mountain bike tyres need to cope with rocks, roots, sharp edges, loose surfaces and repeated impacts.
A suitable mountain bike tyre should match the terrain, riding style and wheel size. Trail and enduro riders may require stronger casings than someone riding gentle towpaths or well-maintained cycle paths.
Electric Mountain Bikes
E-MTBs place additional demands on tyres because of their weight, motor assistance and riding speeds.
A tyre suitable for an electric mountain bike should be selected according to the manufacturer's recommendations and the type of riding involved.
Midlands Cycles offers a range of electric mountain bikes designed for trail and off-road riding, including full-suspension models intended for demanding terrain.
4. Inspect Your Tyres Before Every Ride
A quick visual inspection can identify problems before they become punctures.
Run your eyes around the tyre tread and sidewalls. Look for:
Glass
Thorns
Small stones
Cuts
Cracks
Bulges
Exposed casing
Excessive tread wear
Embedded metal
Pay particular attention to small objects that appear stuck in the tread.
A piece of glass may not cause an immediate puncture. Instead, repeated contact with the road can gradually push it deeper through the tyre until it reaches the tube.
If you see a sharp object embedded in the tread, remove it carefully and inspect the tyre afterwards.
Do not continue using a tyre with serious casing damage, a large cut, a bulging sidewall or visible structural material.
5. Remove Glass and Debris from Your Tyres
Road riders should pay particular attention to glass.
Broken bottles and other glass fragments can be difficult to see, especially when they become embedded in the tread.
After a ride, rotate the wheel and inspect the tyre surface. You can carefully remove small pieces of debris before they work deeper into the casing.
Cycling UK recommends checking tyres after rides for grit, glass and thorns that could eventually reach the inner tube.
Do not run your bare fingers aggressively over a tyre looking for sharp objects. Use care when removing debris.
The same principle applies to trails. Small thorns, hedge clippings, brambles and sharp stones can become trapped in mountain bike tyres.
6. Use the Right Tyre Pressure for Trails
Road and trail riding require different considerations.
On rough trails, riders often use lower pressures than they would on smooth tarmac because lower pressure can improve grip and comfort. However, going too low can increase the risk of rim strikes and pinch punctures with inner tubes.
The objective is not to run the highest possible pressure or the lowest possible pressure. The objective is to find a suitable pressure for your tyre, wheel, rider weight and terrain.
If your tyre feels unstable when cornering, bottoms out against the rim or suffers repeated pinch punctures, the pressure may be too low.
If the bike feels harsh, skips across rough surfaces or lacks grip, the pressure may be unnecessarily high.
Make adjustments gradually rather than making large changes at once.
7. Consider Tubeless Tyres for Appropriate Bikes
Tubeless tyres can reduce certain types of puncture problems because there is no traditional inner tube to pinch against the rim.
A tubeless setup typically uses:
Tubeless-compatible tyres
Tubeless-compatible rims
Rim tape
Tubeless valves
Sealant
The sealant can close some small punctures while riding.
However, tubeless tyres are not puncture-proof.
Large cuts, damaged sidewalls and serious tyre failures can still cause problems. Tubeless systems also require maintenance because sealant can dry out and lose effectiveness.
Tubeless is particularly common in mountain biking, where riders may benefit from lower pressures and additional protection against pinch flats.
It is not automatically the best option for every rider. If you are considering a tubeless conversion, make sure your rims and tyres are compatible and have the setup carried out correctly.
8. Replace Worn Tyres
Tyres are consumable components. They do not last indefinitely.
As the tread and casing wear, the tyre can become more vulnerable to punctures and other damage.
Signs that a tyre may need replacing include:
Deep cuts
Cracks
Bulges
Excessive tread wear
Exposed casing
Repeated punctures
Sidewall damage
Uneven wear
Do not judge tyre condition by tread depth alone.
A road tyre may still appear to have tread but have a damaged or weakened casing. A mountain bike tyre may still have visible tread but suffer cuts from repeated trail impacts.
If you are unsure whether a tyre is safe to continue using, have it inspected by a qualified bike mechanic.
9. Check for Sidewall Damage
The sidewall is particularly important because it supports the tyre structure.
Cuts or abrasions on the sidewall can weaken the casing and potentially lead to a failure.
Inspect both sides of the tyre, not just the tread.
Look for:
Cuts
Cracks
Bulges
Abrasion
Exposed threads
Unusual deformation
A tyre with significant structural damage should be replaced rather than repaired with a temporary patch.
A puncture repair kit is designed to deal with punctures, not restore a structurally damaged tyre.
10. Avoid Potholes Where Possible
Potholes can cause punctures, rim damage, wheel damage and other mechanical problems.
They are particularly dangerous when approached at speed because the rider has less time to react.
Keep your eyes ahead and scan the road surface rather than focusing only on the section immediately in front of your front wheel.
Watch for:
Potholes
Drain covers
Broken tarmac
Loose gravel
Road debris
Raised edges
Deep cracks
If a pothole cannot safely be avoided, reduce speed where possible and maintain control of the bike.
Do not make a sudden movement into traffic or another rider's path simply to avoid a road defect.
11. Be Careful Around Kerbs and Sharp Edges
Hitting a kerb at an unsuitable angle can compress the tyre and increase the risk of a pinch puncture.
The same applies to sharp trail edges, exposed roots and rocks.
Where possible, approach obstacles with appropriate speed and technique rather than hitting them at full speed.
Mountain bikers should avoid landing heavily on square edges when the tyre pressure and setup are not suitable for the terrain.
The aim is to reduce unnecessary impacts on the tyre, rim and wheel.
12. Keep Your Wheels in Good Condition
Puncture prevention is not only about the tyre.
The wheel and rim also need to be in good condition.
A damaged rim can create problems for the tyre or inner tube. Poorly maintained rim tape can expose spoke holes or sharp edges that may damage the tube from inside.
Check for:
Dents
Cracks
Loose spokes
Wheel wobble
Damaged rim tape
Sharp edges
Problems around the valve hole
If you repeatedly experience punctures on the inside-facing surface of the tube, the problem may not be caused by something on the road.
The wheel should be inspected to determine whether rim tape, spoke holes, the rim or another internal component is responsible.
13. Check the Inner Tube When You Get a Puncture
When a puncture happens, replacing the tube is only part of the job.
Find out why the tube failed.
Look at the puncture pattern.
A single round hole may indicate penetration from a sharp object.
Two holes close together can indicate a pinch puncture.
A hole near the valve may indicate a valve or installation issue.
A long cut can indicate serious damage.
Once the tube has been removed, inspect the inside of the tyre carefully.
Run your fingers carefully along the inside only when you are confident there are no sharp objects that could injure you. A safer approach is to inspect visually and use care when locating embedded debris.
If you find the original cause, remove it before installing the replacement tube.
14. Check the Tyre After Every Puncture
Replacing the tube without inspecting the tyre is one of the easiest ways to suffer another puncture.
Suppose you ride over a thorn and it penetrates the tyre and tube. You replace the tube but leave the thorn embedded in the tyre.
As soon as you inflate the new tube, the thorn may puncture it again.
This is why puncture repair should involve identifying the cause rather than simply replacing the failed component.
The same applies to glass.
If the object remains embedded in the tyre, another tube may fail during the next ride.
15. Make Sure the Tube Is Installed Correctly
Incorrect installation can create problems even when the tyre and tube are otherwise in good condition.
The tube should sit correctly inside the tyre without twists or trapped sections.
Before fully inflating a newly installed tube:
Make sure the tube is correctly positioned.
Check that the tyre bead is seated evenly.
Inspect the valve position.
Inflate gradually.
Check that the tyre remains evenly seated around the rim.
Check the tyre and tube again before reaching full pressure.
A tube trapped between the tyre bead and rim can be damaged during inflation.
If you are not confident fitting tyres and tubes, have the work carried out by a professional workshop.
16. Check Your Valve
A leaking valve can look like a puncture because the tyre gradually loses pressure.
Check the valve if a tyre repeatedly goes flat but you cannot find a hole in the tread.
Problems can include:
Damaged valve
Loose valve core
Damaged valve stem
Poorly fitted tube
Valve movement
A replacement tube may be the simplest solution if the valve itself has failed.
17. Carry a Puncture Repair Kit
Even with excellent maintenance, no tyre is completely immune to punctures.
If you ride regularly, carry equipment that allows you to deal with a flat away from home.
A basic road or trail kit can include:
Spare inner tube
Tyre levers
Pump
CO2 inflator if appropriate
Puncture patches
Multi-tool
Tubeless repair plugs if using tubeless tyres
Disposable gloves
Small piece of tyre boot material
For longer rides, carrying a spare tube is particularly useful.
A patch kit can repair some punctures, but a damaged tube may be quicker to replace.
18. Practise Changing an Inner Tube
Learning how to change an inner tube at home is easier than learning beside a road in cold or wet weather.
Practise the process before you need it.
Learn how to:
Remove the wheel
Release the tyre bead
Remove the inner tube
Identify the puncture
Inspect the tyre
Fit a new tube
Seat the tyre correctly
Inflate the tyre
Check the wheel before riding
Cycling UK also recommends practising puncture repair so that you are prepared when a flat occurs during a ride.
If you use an e-bike, check the manufacturer's guidance for removing wheels and dealing with any motor or electrical components before attempting roadside repairs.
19. Electric Bike Riders Need to Consider Extra Weight
Electric bikes can put additional demands on tyres and wheels.
The motor, battery and other components add weight compared with a conventional bicycle. Riders may also travel further and climb steeper hills.
This makes correct tyre pressure particularly important.
Do not automatically use the same pressure you would use on a lightweight non-electric bike.
Check the tyre manufacturer's pressure range and the e-bike manufacturer's recommendations.
If you are buying an e-bike, ask the retailer about suitable tyre types, pressures and replacement options for your intended use.
Midlands Cycles sells electric bikes and electric mountain bikes and provides workshop support for e-bike owners. Its Stone workshop covers servicing, repairs, puncture repairs and e-bike diagnostics.
20. Electric Mountain Bike Riders Should Match Tyres to the Trail
E-MTB riders often encounter a wider variety of surfaces than road cyclists.
A single ride may include:
Tarmac
Gravel
Mud
Roots
Rocks
Loose stones
Hard-packed trails
Wet surfaces
The tyre should be appropriate for the terrain.
If you regularly ride technical trails, a lightweight tyre designed primarily for smooth surfaces may not provide enough protection for your riding style.
Consider:Casing strength
Tread pattern
Sidewall protection
Wheel size
Tubeless compatibility
Terrain
Rider weight
Bike weight
Riding style
Midlands Cycles stocks full-suspension electric mountain bikes designed for trail and enduro riding. Its current range includes models such as Haibike, Mondraker and GHOST e-MTBs.
21. Clean Your Bike After Muddy Trail Rides
Mud and debris can hide tyre damage.
After a muddy trail ride, clean the bike and inspect the tyres once the mud has been removed.
Look for:
Cuts
Embedded stones
Thorns
Sidewall damage
Tread damage
Wheel damage
Do not use high-pressure water directly against sensitive bike components.
Cleaning is not only about appearance. It makes it easier to identify damage before the next ride.
This is particularly useful during wet periods when mud can hide sharp objects and tyre cuts.
22. Be Careful with Thorny Trails
Trail riders can encounter thorns and sharp vegetation, especially when riding through overgrown sections.
If you regularly ride through areas with thorny hedges, brambles or dense vegetation, inspect your tyres after the ride.
Small thorns can remain lodged in the tyre and slowly work their way through to the tube.
A tyre that has suffered several thorn punctures may benefit from a different tyre or tubeless setup, depending on the bike and riding conditions.
23. Consider Your Riding Route
Puncture prevention starts before you leave home.
If you know a particular road is covered with broken glass or a trail has recently been affected by debris, choose an alternative route where practical.
This does not mean avoiding every rough road or trail. It means understanding the conditions and preparing your bike accordingly.
For regular commuters, route choice can make a noticeable difference to tyre life.
For trail riders, checking trail conditions before a ride can help determine whether your current tyre setup is suitable.
24. Do Not Ignore Repeated Punctures
One puncture can be bad luck.
Several punctures from the same wheel in a short period usually deserve investigation.
Repeated punctures can indicate:
Incorrect tyre pressure
Worn tyre
Damaged rim tape
Damaged rim
Incorrect tube size
Poor installation
Embedded debris
Valve problems
Wheel damage
A tyre unsuitable for the terrain
Instead of continuing to replace tubes, have the complete wheel and tyre system inspected.
A professional mechanic can often identify the pattern and determine what is causing the repeated failures.
25. When Should You Replace an Inner Tube?
Inner tubes are relatively inexpensive compared with the time and inconvenience of repeated repairs.
Replace a tube when it has:
A large hole
Multiple patches
A damaged valve
A stretched or distorted area
A significant cut
Damage caused by incorrect installation
A small puncture can often be patched successfully, but repeated patches may eventually make replacement more practical.
If you are repairing a tube yourself, follow the patch manufacturer's instructions and make sure the repaired area is suitable for continued use.
26. When Should You Replace a Bike Tyre?
A tyre should be replaced when its condition means it can no longer provide reliable protection and structural support.
Replace the tyre if you find:
A large cut
Exposed casing
Bulging
Serious sidewall damage
Excessive wear
Repeated unexplained punctures
Significant deformation
Damage around the bead
Do not use a temporary repair as a permanent solution for serious tyre damage.
A tyre boot can sometimes be useful as an emergency measure to get home, but a structurally damaged tyre should normally be replaced before the next ride.
27. Road Bike Puncture Prevention Checklist
Before a road ride, check:
Tyre pressure
Tread condition
Sidewalls
Embedded glass
Embedded stones
Valve condition
Wheel condition
Rim condition
Spare tube
Pump
Tyre levers
If you are riding a longer distance, carry enough equipment to deal with at least one puncture.
For remote routes, carrying more than one spare tube can provide additional security.
28. Mountain Bike Puncture Prevention Checklist
Before a trail ride, check:
Tyre pressure
Tread condition
Sidewalls
Tubeless sealant if applicable
Wheel condition
Rim condition
Spokes
Embedded debris
Suspension condition
Spare tube
Pump
Tyre levers
Tubeless plugs if applicable
For demanding trails, inspect the tyres after every ride rather than waiting until the next scheduled service.
29. Puncture Prevention for Commuters
Commuters often prioritise reliability.
If you use your bike to get to work, a puncture can mean missing a train, arriving late or having to find alternative transport.
A commuter-focused maintenance routine should include regular tyre pressure checks and frequent inspections for road debris.
Consider a durable tyre designed for regular road use if punctures are a recurring problem.
Keep a spare tube, pump and tyre levers with you rather than relying on finding a bike shop during your journey.
30. Puncture Prevention for Children's Bikes
Children's bikes need the same basic tyre checks as adult bikes.
Parents should check:
Tyre pressure
Tread condition
Embedded debris
Sidewall condition
Wheel security
Signs of punctures or slow leaks
For children's electric bikes, including Revvi models, follow the manufacturer's recommendations for tyres, pressures and maintenance.
A child should not be expected to identify a slow puncture or damaged tyre themselves. A quick parental check before riding can identify many problems.
31. Professional Puncture Repairs Can Identify the Underlying Problem
A puncture repair is not always simply a case of fitting a new inner tube.
A professional mechanic can inspect the tyre, tube, rim, rim tape, valve and wheel to determine why the puncture occurred.
This is particularly useful if:
You have repeated punctures
The same wheel keeps going flat
You cannot find the cause
The tyre is damaged
The wheel has been involved in an impact
The bike has an unusual tyre setup
You use an e-bike or e-MTB
Midlands Cycles provides puncture repairs as part of its workshop service in Stone, Staffordshire. The workshop also handles bike servicing, wheel repairs, drivetrain work, brake adjustments and e-bike diagnostics.
For local riders, the Midlands Cycles bike repair and servicing workshop is available for routine maintenance and repairs.
32. How Often Should You Check Your Tyres?
There is no single inspection schedule that suits every cyclist.
A rider commuting every day on rough urban roads should inspect tyres more frequently than someone who rides occasionally.
A practical routine is:
Before every ride: Check for obvious damage and confirm that the tyre feels correctly inflated.
Every few rides: Check the pressure using a gauge and inspect the tread carefully.
After demanding trail rides: Inspect for cuts, rocks, thorns and sidewall damage.
Before long-distance rides: Carry out a complete tyre and wheel inspection.
During regular servicing: Ask the mechanic to assess tyre condition, wheel condition and any recurring puncture issues.
33. Do Puncture-Resistant Tyres Prevent All Punctures?
No tyre can guarantee complete puncture protection.
Puncture-resistant tyres use additional protective layers or stronger construction to reduce the likelihood of certain types of puncture.
However, a sufficiently sharp object can still penetrate them.
Puncture resistance can also involve compromises. Some heavily protected tyres may be heavier or less flexible than lightweight performance tyres.
Choose based on your priorities.
If reliability is more important than minimum weight, additional puncture protection may be worthwhile.
34. Are Wider Tyres Less Likely to Puncture?
Tyre width alone does not determine puncture resistance.
A wider tyre can offer a larger air volume and may allow a suitable lower pressure for comfort and grip, particularly on rough surfaces. But the tyre's casing, construction, pressure and riding conditions also matter.
A wide lightweight tyre can still be vulnerable to sharp debris.
Likewise, a narrower tyre with strong puncture protection may perform well against certain road hazards.
Choose the tyre as a complete system rather than focusing only on width.
35. Can Low Tyre Pressure Cause Punctures?
Yes, particularly with inner tubes.
If the pressure is too low for the rider, bike and terrain, the tyre can compress significantly when it hits an obstacle. The tube may become trapped between the rim and tyre, causing a pinch puncture.
Low pressure can also increase the likelihood of rim impacts.
However, excessively high pressure is not automatically better. The correct pressure is a balance between tyre stability, grip, comfort, rolling characteristics and puncture resistance.
Use the manufacturer's recommended pressure range as the starting point.
36. Can High Tyre Pressure Cause Punctures?
High pressure can create its own problems.
A very highly inflated tyre may transmit more impact through the bike when it encounters rough surfaces. It can also reduce grip depending on the terrain.
Do not exceed the maximum pressure marked on the tyre or recommended by the manufacturer.
The goal is suitable pressure, not maximum pressure.
37. What Should You Do If You Get a Puncture on a Ride?
If your tyre goes flat, move somewhere safe before attempting a repair.
If you are on a road, get away from moving traffic.
If you are on a trail, move away from the riding line and find a stable area.
Then:
Inspect the tyre.
Find the cause if possible.
Remove the object carefully.
Replace or repair the inner tube.
Check the tyre casing.
Inflate to the correct pressure.
Check that the tyre bead is seated correctly.
Spin the wheel and check that it runs properly.
Ride cautiously after the repair.
If the tyre itself is badly damaged, do not rely on a simple tube replacement.
38. What Tools Should You Carry?
A basic roadside kit should be small enough to carry but complete enough to get you moving again.
For a standard bike, consider:
Mini pump
Spare inner tube
Tyre levers
Puncture patches
Multi-tool
Disposable gloves
For tubeless bikes, add:Tubeless plugs
Plug insertion tool
Appropriate inflation equipment
For longer or remote rides, consider carrying a second tube and additional emergency equipment.
The exact kit should reflect your bike and route.
39. How Midlands Cycles Can Help Prevent Puncture Problems
Puncture prevention is easier when the whole bike is maintained correctly.
Midlands Cycles provides servicing, repairs, puncture repairs and general bike maintenance from its workshop in Stone, Staffordshire. The workshop works on road bikes, mountain bikes, electric bikes, hybrids, children's bikes and commuter bikes.
If you have repeated punctures, the workshop can inspect the tyre and wheel system rather than simply replacing the failed tube.
A service can also identify other problems that may contribute to tyre damage, such as wheel issues, worn components or incorrect setup.
For riders who use electric bikes, Midlands Cycles also provides e-bike diagnostics and specialist support, including Bosch service centre support.
Frequently Asked Questions About Bike Punctures
How can I prevent bike punctures?
Maintain the correct tyre pressure, inspect tyres regularly, remove embedded debris, replace worn tyres, use tyres appropriate for your riding conditions and keep your wheels in good condition. Carrying a spare tube and repair equipment is also recommended because no tyre is completely puncture-proof.
Why does my bike keep getting punctures?
Repeated punctures can be caused by incorrect tyre pressure, worn tyres, embedded debris, damaged rim tape, wheel damage, incorrect tube installation or a tyre that is unsuitable for the terrain. If the same wheel repeatedly punctures, have the complete tyre and wheel inspected.
Does higher tyre pressure prevent punctures?
Not necessarily. Correct pressure can reduce the risk of pinch punctures, but excessively high pressure can affect grip and handling. Use the pressure range recommended by the tyre manufacturer and adjust appropriately for your bike, rider weight and riding conditions.
What causes a pinch puncture?
A pinch puncture usually happens when an underinflated tyre compresses against an obstacle and traps the inner tube between the tyre and rim. The tube can develop two small holes close together.
Are puncture-resistant tyres worth it?
They can be worthwhile for riders who regularly experience punctures or prioritise reliability. They are particularly useful for commuting and everyday road riding, but they cannot prevent every puncture.
Are tubeless tyres puncture-proof?
No. Tubeless systems can reduce certain puncture problems and seal some small holes, but large cuts, sidewall damage and other failures can still occur.
Should I replace my tyre after a puncture?
Not necessarily. A normal puncture caused by a small piece of glass or thorn may only require a tube repair or replacement. However, replace the tyre if it has serious cuts, sidewall damage, bulges, exposed casing, excessive wear or repeated unexplained failures.
How often should I check my bike tyres?
Check them before every ride for obvious damage and pressure. Use a pressure gauge regularly and inspect the tyres more thoroughly after demanding rides or when you notice changes in pressure or handling.
Can electric bikes get more punctures?
An e-bike is not automatically more likely to puncture, but its additional weight and the demands of electric-assisted riding can place greater loads on tyres and wheels. Correct pressure, suitable tyres and regular inspection are particularly important.
Do Midlands Cycles repair punctures?
Yes. Midlands Cycles provides puncture repairs as part of its bike workshop services in Stone, Staffordshire. The workshop also provides servicing, maintenance, wheel repairs and e-bike diagnostics.
Do Midlands Cycles service bikes?
Yes. Midlands Cycles provides bike servicing and repairs for road bikes, mountain bikes, electric bikes, hybrids, children's bikes and commuter bikes.
Final Bike Puncture Prevention Checklist
Before every ride:
Check tyre pressure.
Inspect the tread.
Look for glass, thorns and stones.
Check both sidewalls.
Look for cuts, cracks and bulges.
Check that the wheels are secure.
Make sure you have appropriate repair equipment.
For regular maintenance:Monitor tyre pressure.
Remove embedded debris.
Replace damaged or worn tyres.
Inspect rim tape and wheels.
Check for slow punctures.
Replace damaged tubes.
Service the bike regularly.
For trail riding:Use tyres suitable for the terrain.
Set an appropriate pressure.
Inspect tyres after demanding rides.
Consider tubeless if suitable for your bike.
Carry a spare tube even when running tubeless.
For e-bike riders:Use tyres appropriate for the bike's weight and riding style.
Follow the manufacturer's pressure recommendations.
Inspect tyres and wheels regularly.
Have recurring problems professionally diagnosed.
Final Thoughts
Preventing bike punctures is mainly about preparation and maintenance. The biggest gains come from using suitable tyres, maintaining the correct pressure, inspecting the tread and sidewalls, removing embedded debris and replacing damaged components before they fail.
Road cyclists should pay particular attention to glass, flints, potholes and road debris. Trail riders need to consider rocks, roots, thorns and sharp trail surfaces. Electric bike and e-MTB riders should also account for the additional demands placed on tyres and wheels by the bike's weight and riding conditions.
No tyre is completely puncture-proof, so carrying a pump, spare tube and basic repair tools remains sensible even when using puncture-resistant or tubeless tyres.
If your bike keeps getting punctures, do not simply keep replacing inner tubes. The repeated failure may be telling you that there is an underlying problem with the tyre, wheel, rim tape, pressure or setup.
For riders in Stone, Staffordshire and surrounding areas, Midlands Cycles provides puncture repairs, bike servicing, maintenance and repairs from its local workshop. The team can also support electric bike owners with e-bike diagnostics and servicing.
You can visit the Midlands Cycles workshop to find out more about puncture repairs and bike servicing.
To discover the bikes and electric mountain bikes available from Midlands Cycles, visit the Midlands Cycles electric bike range.
If you are looking for a local bike shop in Stone, Staffordshire, you can also view the Midlands Cycles Google Business Profile for business information and customer reviews.