- Avinox M2S
- 800Wh Battery
- 170mm Front Travel
- 165mm Rear Travel
- Mullet Setup
- Carbon Frame
Dirt Jump Mountain Bike
The Mondraker Zendit XR is a flagship carbon enduro e-MTB built for steep terrain, high-speed descending and full-power trail performance. With the Avinox M2S drive system, updated ZERO suspension kinematics and a premium carbon wheel build, it is made for riders who want the sharpest, most capable Zendit in the range.
Flagship Enduro Platform
The Zendit XR is built around Mondraker’s Stealth Air full-carbon frame with 165mm of rear travel, Forward Geometry and a mullet wheel setup as standard for aggressive enduro e-MTB riding.
Avinox M2S Power
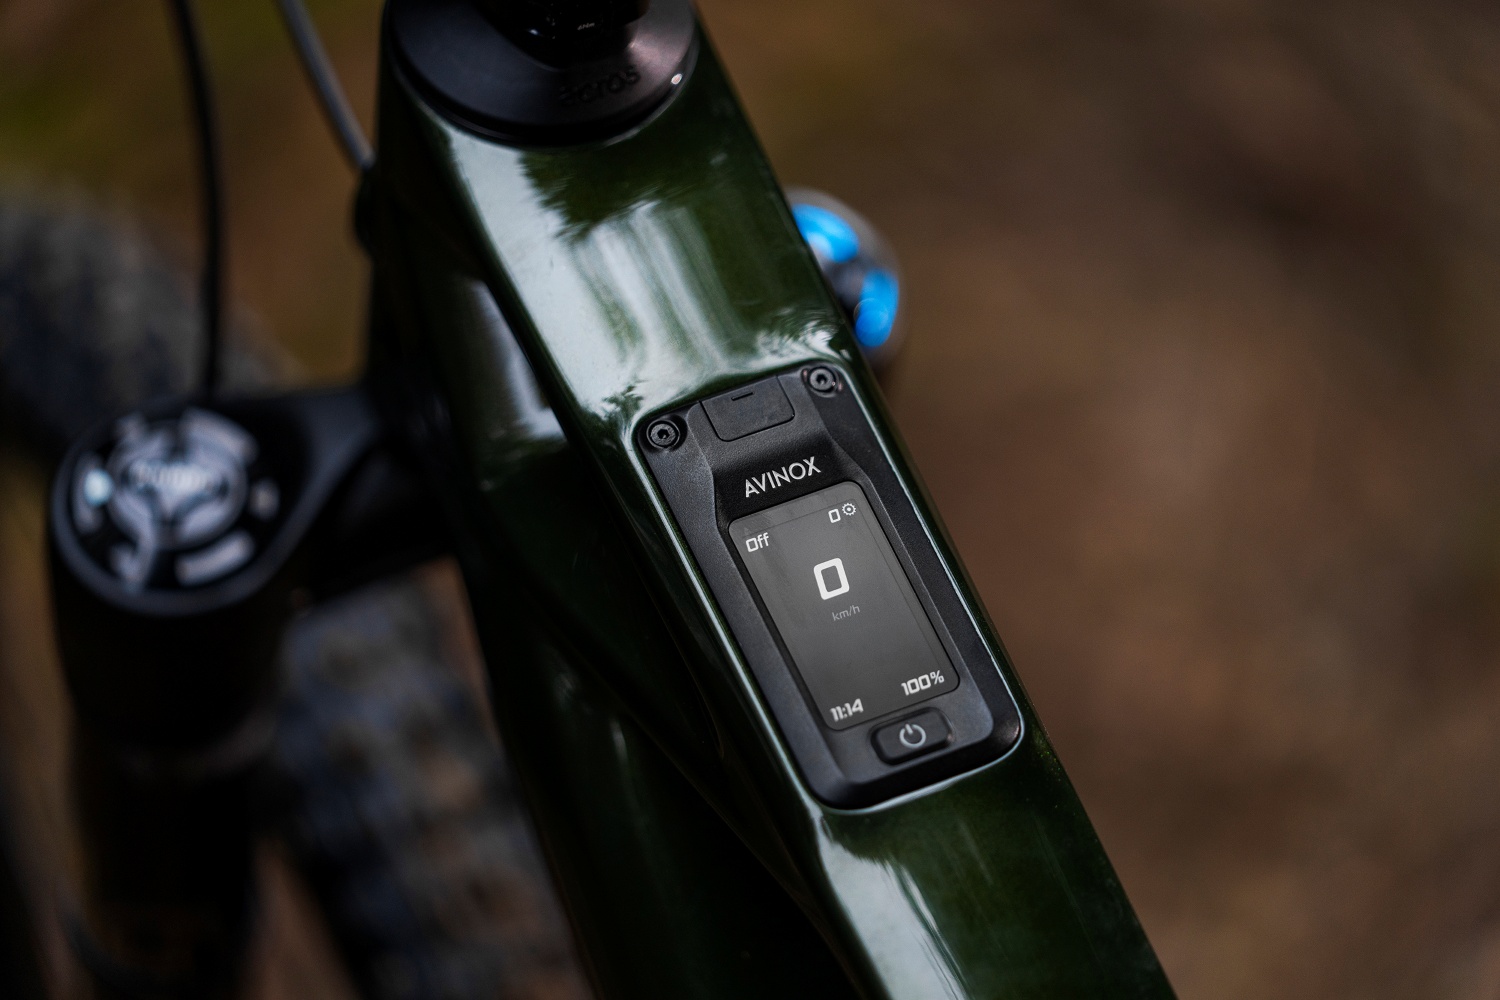
With Avinox M2S assistance, an 800Wh integrated battery, DP100 display and BC100 wireless controller, the Zendit XR combines powerful support with a clean, highly integrated cockpit.
Premium Suspension and Brakes
Fox Factory suspension and SRAM Maven Ultimate brakes give the Zendit XR the support, control and braking confidence needed for hard descending and technical riding.
Top-End Build Kit
Carbon DT Swiss wheels, SRAM X0 Eagle AXS T-Type transmission and a RockShox Reverb AXS dropper complete a high-end build aimed at serious riders who want no-compromise performance.

Product Description
Built for Aggressive Enduro Riding
The Mondraker Zendit XR is designed for riders who want a full-power carbon e-MTB that feels composed, fast and planted on steep technical terrain. With 165mm of rear travel, 170mm up front and Mondraker’s Forward Geometry, it is built to stay stable at speed while still climbing with confidence and control.
Avinox M2S Motor and 800Wh Battery
At the heart of the Zendit XR is the Avinox M2S motor, paired with an 800Wh integrated battery, Avinox DP100 display and BC100 wireless controller. This gives the bike a clean cockpit, strong power delivery and the kind of range and support that suits long days in the mountains and technical climbing where full-power assistance really matters.
Advanced Suspension and Proportional Handling
Mondraker redesigned the Zendit platform around the output of the Avinox system, with updated ZERO suspension kinematics and proportional chainstay lengths across the size range. The stock mullet setup gives the bike a balanced feel for aggressive descending, while the lower flip-chip also allows a 29-inch rear wheel conversion without changing the bike’s key frame angles.
Premium Build from Top to Bottom
Fox Factory suspension, SRAM Maven Ultimate brakes, SRAM X0 Eagle AXS T-Type transmission and DT Swiss Hybrid HXC 1500 carbon wheels give the Zendit XR a true flagship spec. It is a bike built for riders who want the sharpest parts package, high-end integration and serious enduro e-bike performance in one complete package.

Spec List
- Frame: Zendit Stealth Air full carbon, Updated ZERO Suspension System
- Rear Travel: 165mm
- Fork Travel: 170mm
- Wheel Setup: Mullet as standard
- Motor: Avinox M2S
- Torque: 130Nm / 150Nm in Boost
- Peak Power: 1300W
- Nominal Power: 250W
- Battery: Avinox 800Wh integrated battery
- Display: Avinox DP100
- Controller: Avinox BC100 wireless controller
- Rear Shock: Fox Float X2 Factory Kashima, 205x65mm
- Fork: Fox Podium 29 Float GRIP X2 Factory Kashima, 170mm
- Stem: Onoff S9, 30mm, 0º
- Handlebar: Onoff S9 1.0 Carbon, 800mm wide
- Seatpost: RockShox Reverb AXS
- Rear Derailleur: SRAM X0 Eagle AXS T-Type, 12-speed
- Shifter: SRAM Eagle AXS Pod Controller Rocker Paddle
- Cassette: SRAM XS-1275, 10-52T, T-Type, 12-speed
- Chain: SRAM GX Eagle T-Type Flattop
- Crankset: e*thirteen Helix Race Carbon e*spec, 155mm
- Chainring: SRAM Eagle 36T T-Type
- Front Brake: SRAM Maven Ultimate, 220mm rotor
- Rear Brake: SRAM Maven Ultimate, 200mm rotor
- Rims: DT Swiss Hybrid HXC 1500 Spline Carbon, 30mm internal
- Front Hub: DT Swiss 350, Boost 20x110mm
- Rear Hub: DT Swiss 350 Classic, 72T Ratchet DEG, Boost 12x148mm, XD
- Front Tyre: Maxxis Assegai 29x2.5WT, 3C MaxxGrip, DD
- Rear Tyre: Maxxis Minion DHR II 27.5x2.5WT, 3C MaxxTerra, DD
- Weight: 23.1kg
- Sizes: S, M, M/L, L, XL
Geometry
| Measurement | S | M | M/L | L | XL |
|---|---|---|---|---|---|
| Seat Tube Length | 380mm | 410mm | 435mm | 460mm | 490mm |
| Top Tube Length | 586mm | 606mm | 628mm | 650mm | 672mm |
| Bottom Bracket Drop | 6mm | 6mm | 6mm | 6mm | 6mm |
| Bottom Bracket Height | 345mm | 345mm | 345mm | 345mm | 345mm |
| Chainstay Length | 450mm | 450mm | 450mm | 455mm | 455mm |
| Seat Tube Angle | 73.5° | 73.5° | 73.5° | 73.5° | 73.5° |
| Effective Seat Tube Angle | 77° | 77° | 77° | 77° | 77° |
| Head Tube Angle | 63.5° | 63.5° | 63.5° | 63.5° | 63.5° |
| Fork Offset | 44mm | 44mm | 44mm | 44mm | 44mm |
| Wheelbase | 1241mm | 1261mm | 1286mm | 1315mm | 1339mm |
| Head Tube Length | 110mm | 110mm | 120mm | 130mm | 140mm |
| Reach | 440mm | 460mm | 480mm | 500mm | 520mm |
| Stack | 631mm | 631mm | 640mm | 649mm | 658mm |
Size Guide
| Frame Size | Reach | Fit Feel |
|---|---|---|
| S | 440mm | Shortest and most compact fit in the range |
| M | 460mm | Balanced fit for riders wanting stability without going too long |
| M/L | 480mm | Extra room and stability without stepping fully into L sizing |
| L | 500mm | Longer, more planted fit for faster and steeper riding |
| XL | 520mm | Longest fit in the range for maximum room and high-speed stability |